|
|
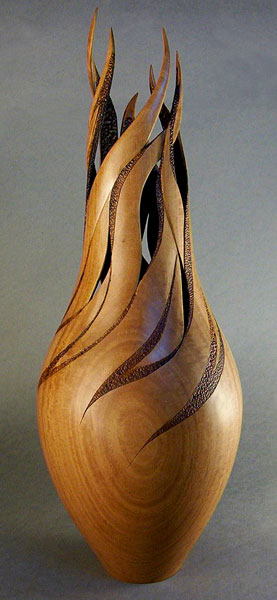
Survivor - the completed piece
Sugar Gum is not commonly used for fine woodwork.
As a result the wood is usually burnt. Hence the flame shapes on the piece.
Our piece survived that sort of ending, giving it the name "Survivor".
It has also taken on a new life of its own, emphasised by the "leaf-shapes" amongst the flames.
|
|
|
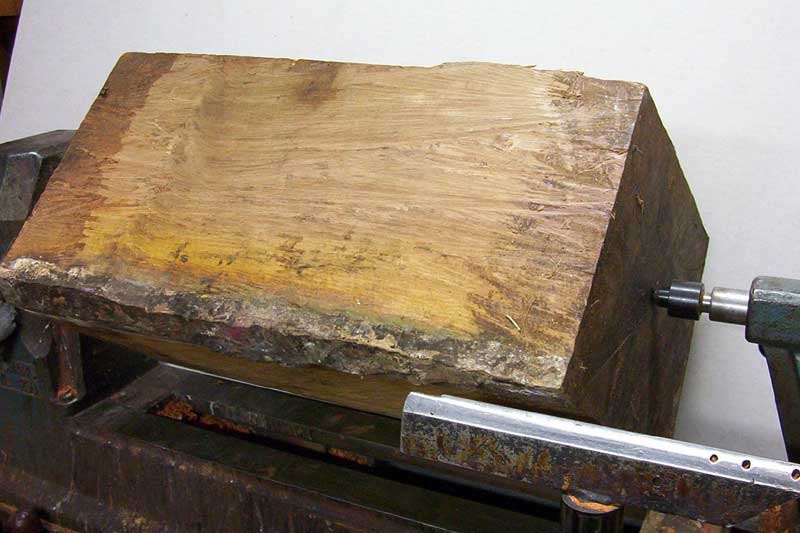
Straight from the tree
What a whopper! 72kg if you please!
Sugar Gum originates from the more arid regions of South Australia hence is a slow grower.
Because of the wood's high density it is quite heavy.
This piece is 300x300x640 (12"x12"x26")
|
|
|
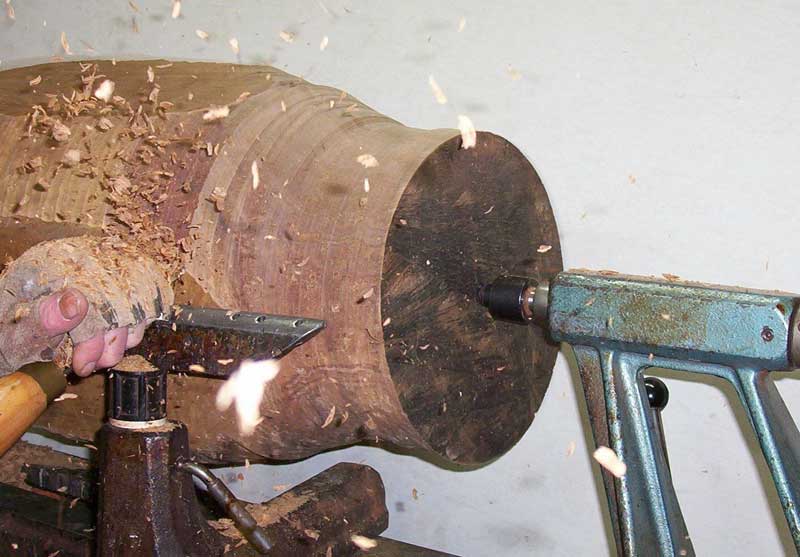
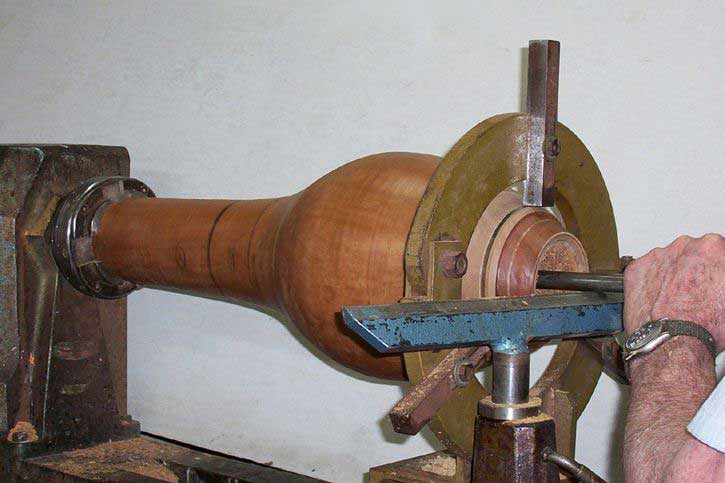
On the Lathe, what a grunt!
|
|
|
Initial shaping, boy is that stuff hard!
The before-mentioned high density also means the wood is pretty hard.
The advantage is that it is very strong; a good attribute when carving thin walled vessels.
|
|
|
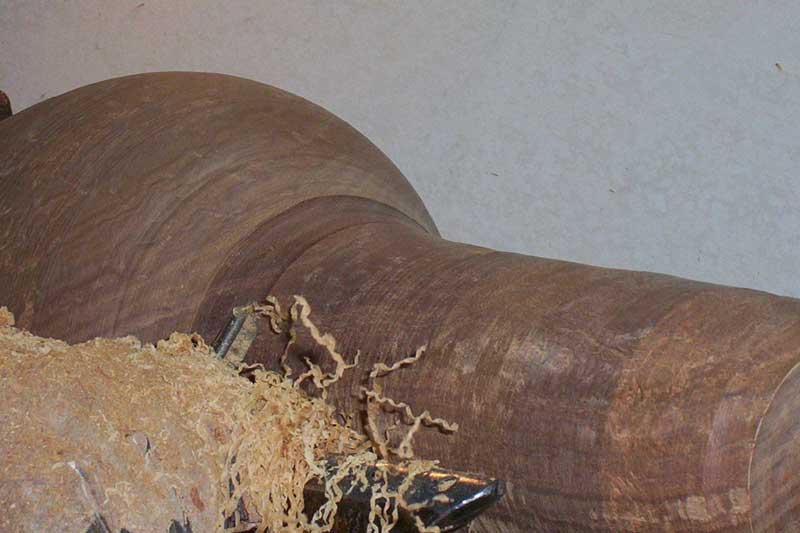
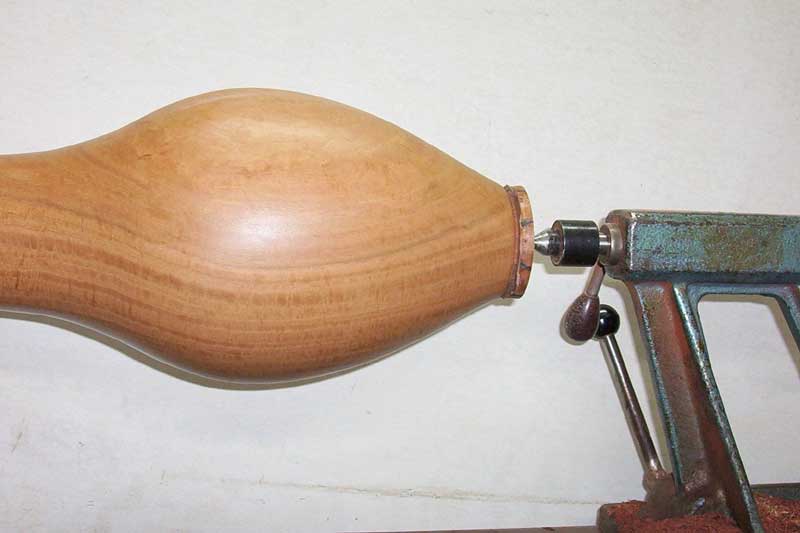
Phew! Nearly there! Final Shaping.
|
|
|
Now the real fun starts.
Hollowing the Neck
Because of the long straight neck, it's not possible to hollow the whole piece through the top,
therefore the hollowing is done in two stages, first the neck then the main body of the piece.
|
|
|
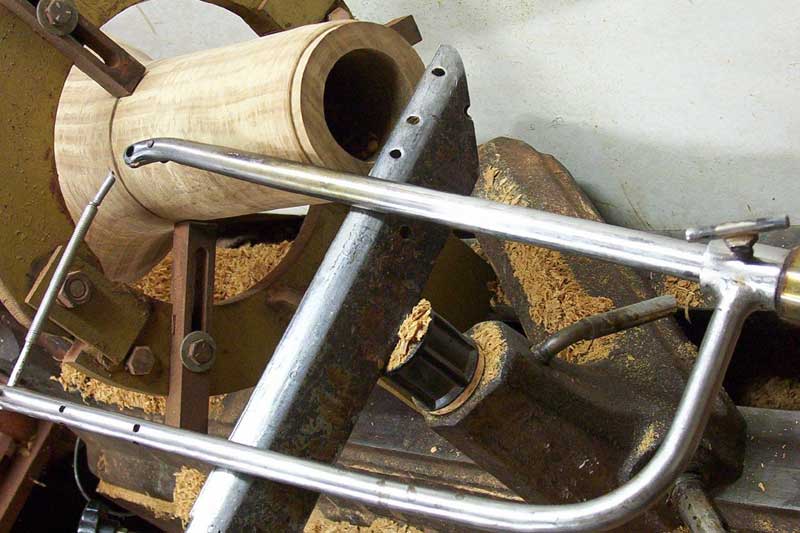
Getting there!
Note the specialised deep hollowing tool.
This ring-cutter makes for fast removal of wood. The possibility to adjust the depth of cut
also makes it a safe tool to use. The outrigger prevents any twisting and the adjustable
spring is an extra bonus allowing you to monitor the thickness of the wall as you're turning.
|
|
|
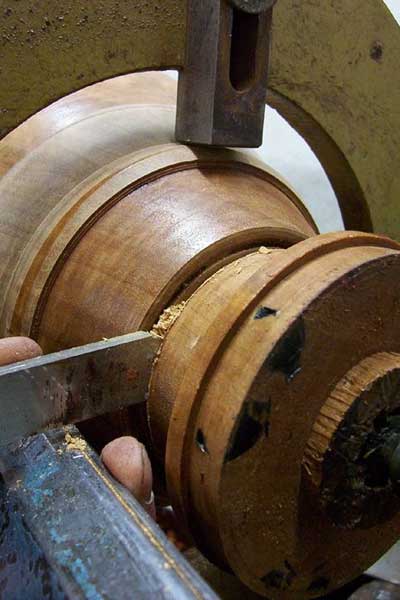
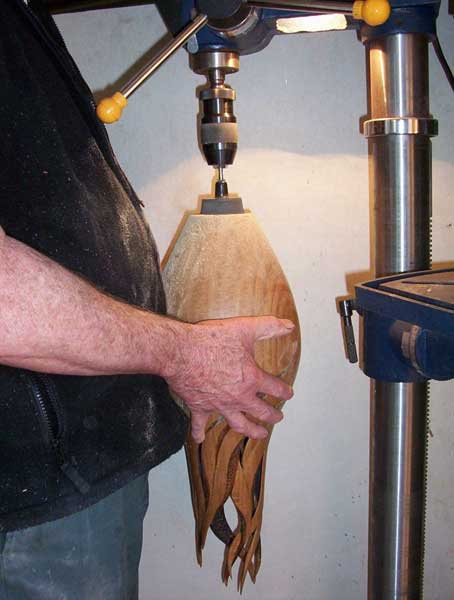
Preparing the way to hollow through the Base.
Note the temporary collar left for the three-point steady.
Because we're hollowing more than 60cm (2') away from the bearings a three-point steady is a must.
With the parting-off, extra material must be left for the future replugging.
A reference mark put on the piece and the plug will help to line up the grain when refitting.
|
|
|
Hollowing through the base.
What a job!
With the dense material this was plain hard work.
Where no carving was required the wall thickness was brought down to 3-4mm.
To allow for the "flames" to overlap each other, the section to be carved was set at 6-9mm.
|
|
|
Refitting the Base, cross-section.
To do this accurately, first place the piece on paper and trace the lower outside profile.
Then, guided by the wall thickness measurements, draw a full-scale sketch of the
inside profile. This will help you to continue the internal profile on the bottom plug.
Then continue as shown on the cross-section.
|
|
|
Refitting the Base
Extra care needs to be taken to line up the grain, you may have to compromise as the
section now filling the bottom opening is missing.
The V joint conveniently "hides" the glue joint but also gives a visual break in the
grain pattern thereby helping to hide what's been done.
At this stage we have shed 70kg, only 2kg left.
|
|
|
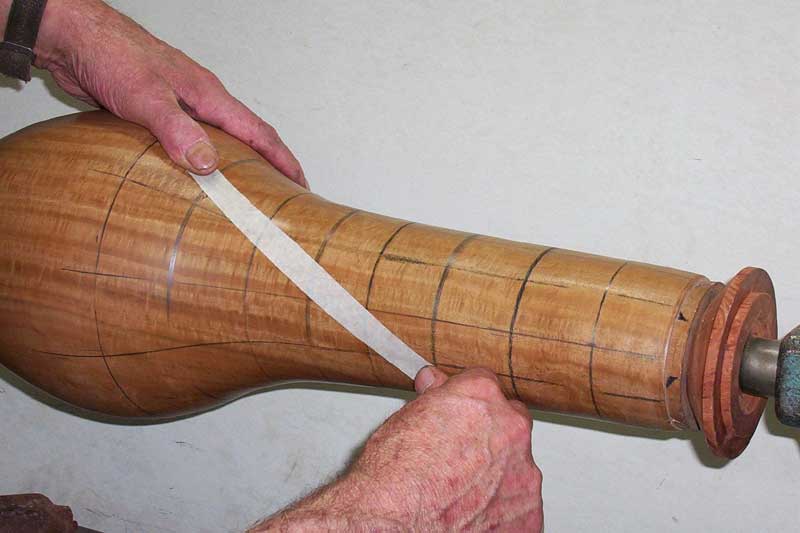
Initial Setting Out
The aim of all this is to get an even flowing "pitch" to the design.
On hindsight, a bit of a guess would have sufficed.
|
|
|
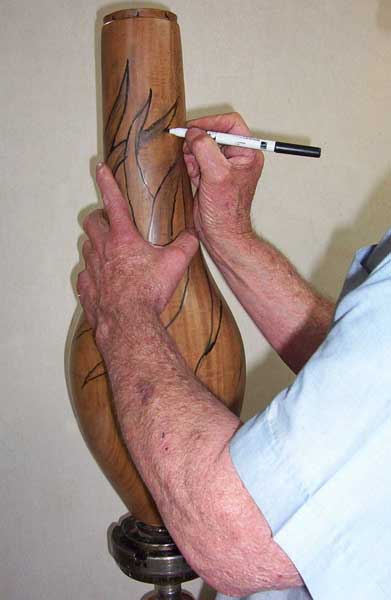
Sketching Design
After some light pencil scribbles a more bold approach with a marker pen.
The marker pen is of the type used on white-boards.
A finish coat has been applied, so that any mistake can be rubbed out.
Once the sketching is finished it's wise to distance oneself from the piece for a day or two
rather than cutting into it. If after that time you don't like the effect no harm has been done.
|
|
|
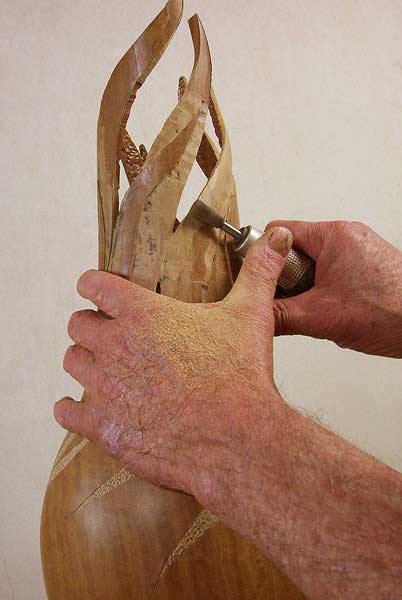
Carving the design
A jigsaw soon cuts out the required profile. After carving with some big burrs
you soon start to get an idea what visual effect the design gives.
At this point the stage is set and only minor adjustments can be made.
Impatience at the designing and sketching stage will now come to haunt you.
|
|
|
Dimpling under the magnifier light
A nice effect but sooo boooring to do!
Working with some magnification is more relaxing on the eyes.
So all you have to contend with is the long windedness of it all. Phew!!
|
|
|
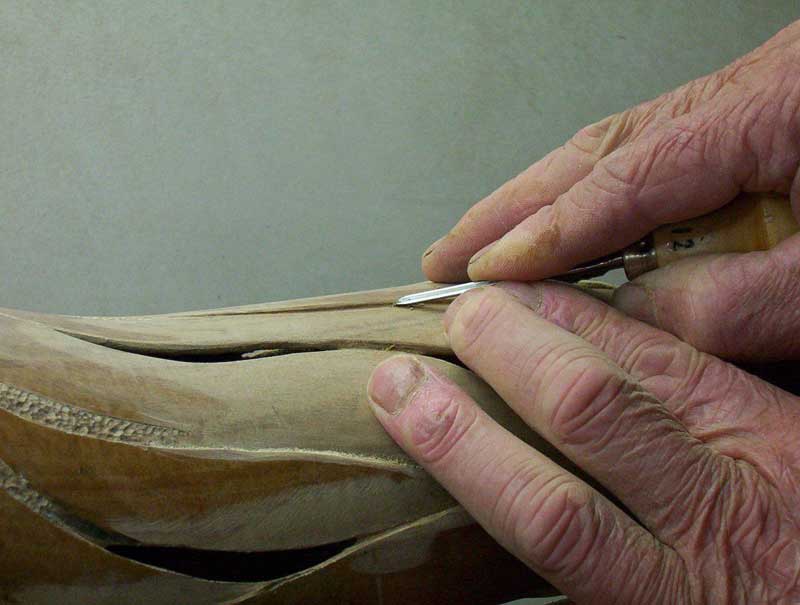
Detail Carving
Getting those internal corners just right!
Now we're this far we must be careful not to let those "last straws"" undo us.
It's important to keep that focus and concentration and pay attention to detail.
|
|
|
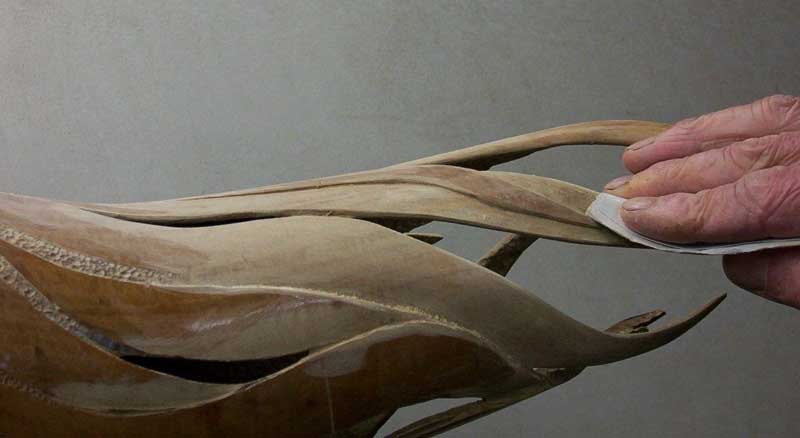
Sanding and Sanding and Sanding and some more sanding, Phew!!!!
|
|
|
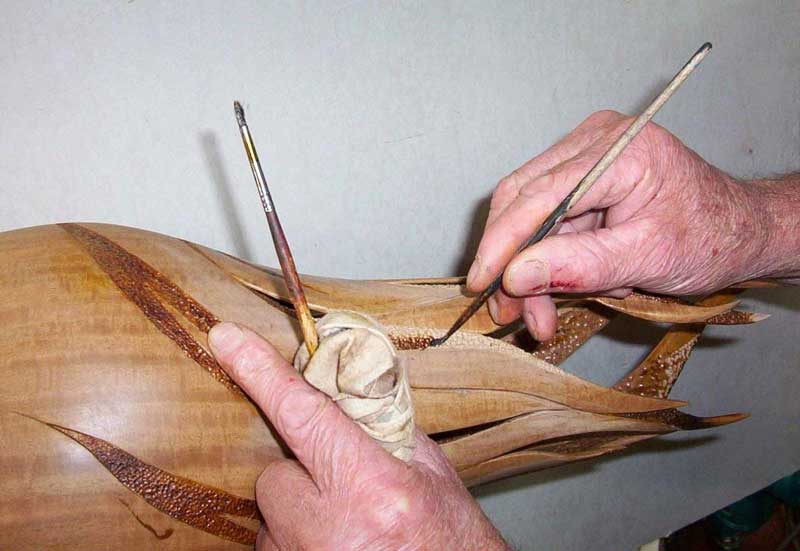
Staining, what a messy business!
Sometimes the colour and grain of the wood is not very exciting and a little
staining can help to give the piece a lift.
In this case several shades of brown are used so as to give a "fade-out" effect
|
|
|
The final parting off!
After the final sanding and rubbing down between finish coats, the parting off!
|
|
|
The last step.
The last step prior to signing and putting on the finish.
The final weight?
1.25kg
|
|
|
"Survivor" - the completed piece
|
|
|